


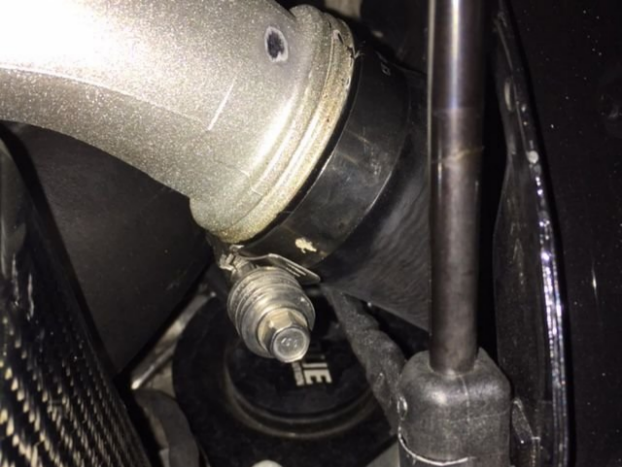
A хомут для шланга с постоянным натяжением uses a self-adjusting metal band whose open ends sit under spring tension, so squeezing the raised tabs widens the circle and releases the grip. That is why a technician can remove one in seconds with hose clamp pliers and slide it back off the hose.The right tool, the removal steps, stuck-clamp fixes, common mistakes, and reuse versus replacement all matter here. A few minutes of prep keeps the hose intact and the clamp ready for another cycle.
HWKG’s constant tension hose clamps take this further, with digital quality control and in-house R&D behind a range that also covers зажимы с червячным приводом, T-bolt hose clamps, band clamps, and pipe couplings.
Основные выводы
- Use hose clamp pliers to grip the raised ears and hold the clamp open safely.
- Squeeze the ears, slide the clamp back, and release only after it clears the fitting.
- Soak stuck clamps in penetrating oil and rock gently to avoid hose damage.
- Wear safety glasses and gloves to protect yourself from snapping clamps.
- Reuse clamps with firm spring tension and no rust; replace weak or damaged ones.
Hose clamp removal tools
Why hose clamp pliers win
Flexible hose clamp pliers are the best tool for constant tension clamps. A good pair grips the raised ears firmly and holds them open without slipping. Advance Components lists several features that make these pliers work well for hose clamp removal:
- Holds constant-tension and spring-band clamps securely
- Hardened jaws that don’t scratch and protect clamp surfaces
- Comfortable non-slip handles for long use
- Works with many clamp sizes
- Angled jaws for reaching tight spaces
- Flexible cable for very tight spots
Locking models let you work hands-free. The jaws grip and hold until the technician moves the clamp back for install, according to Garage Journal forum users. Rotor Clip’s HAZ-1 constant-tension tool also locks when the clamp is fully squeezed, which takes pressure off your hand during removal.
Pliers types and sizes
No single pair of hose clamp pliers handles every job. The table below shows where each style works best.
| Тип | Best application |
|---|---|
| Flat-band spring clamp pliers with locking jaws | Opening flat-band spring clamps and holding them open hands-free |
| Swivel-jaw spring clamp pliers | Flat-band clamps with tabs at an awkward angle |
| Angled jaw pliers (45 and 90 degree heads) | Spring clamps behind a part or down a gap |
| Remote cable-operated (flexible) pliers | Clamps no rigid tool can reach, such as at the bulkhead |
| Wire-type spring clamp pliers | Round-wire rings on vacuum, breather and small coolant lines |
| Front-jaw ear clamp pincers | Single ear and double ear clamps reached head-on |
Size coverage matters too. The ARES 78005 Precision Adjustment Hose Clamp Plier handles self-tightening hose clamps from 11/16 inch to 2-1/2 inches (18mm to 54mm), which covers most car coolant and heater hoses. Regular pliers and screwdrivers tend to slip off the ears and damage the clamp, so they are poor substitutes. Snap-on clamp pliers and swivel jaw band clip pliers are still solid choices for technicians who work on many clamps each day.
How to remove a spring hose clamp
Prep the hose and clamp
Preparation protects both the hose and the technician. Ourushop.com recommends shutting off engines and pumps, venting hot systems, and letting coolant hoses cool to ambient temperature before work begins. Safety glasses and gloves belong on before the first tool appears. Access matters as much as safety. Move shrouds and air intake tubes aside so the hose clamp pliers sit square to the ears. A paint pen mark on the band and hose helps with reinstall later. Support the barb or pipe with the off hand. Never twist on radiators, plastic tees, or thin fittings. This guide covers how to remove a spring hose clamp; readers who need to remove a pinch clamp or unscrew a screw hose clamp should follow the method for that hardware instead.
Squeeze, slide, and release
The removal itself follows a short sequence. Hosecandy.com lays out the steps clearly:
- Locate the clamp’s ears. Most spring clamps have two raised tabs on opposite sides. Some carry only one ear that compresses against the body.
- Seat the pliers squarely on the ears. The jaws grip the flat faces, not the curved band. Gripping the curved part causes slips.
- Squeeze until the ears touch or nearly touch. This expands the band to release tension from the hose. Full closure is unnecessary.
- Slide it back along the hose, away from the fitting. A small flathead screwdriver can nudge a stubborn clamp.
- Release the pliers only after the clamp clears the fitting. Early release snaps the clamp back and restarts the job.
Cable-style or angled tools reach clamps buried in an engine bay, according to JLCMC. A flathead screwdriver is a poor substitute for removing hose clamps in tight spots.
A stuck clamp needs patience. Hosecandy.com suggests spraying penetrating oil on the spring mechanism and the contact points between band and hose, then waiting 10 to 15 minutes. Heavy corrosion may need reapplication and up to an hour of dwell. A gentle side-to-side rock while pulling frees many a rusted or seized spring hose clamp. Ronteixauto.com describes a zip-tie method: loop a zip tie through the ears, tighten it to compress it, then cut it free afterward. Radiator spring clamps often resist more and may need extra soak time.
Hosecandy.com also describes a twist-and-slide technique for older, softened hoses: grip the clamp body, twist it 90 degrees to distort the spring, and slide it toward the fitting end while twisted. Gentle, steady pressure matters here. Aggressive twisting can damage the hose. New, stiff hoses may not compress enough for this method.
Releasing tension fully is the goal, not forcing the band. Once the clamp sits past the fitting ridge, the technician can slide the clamp off the hose and set it aside. Spring hose clamps differ from pinch clamps in this respect. Pinch clamps have no ears to squeeze, so the same tool will not work. Readers who need to remove a pinch clamp should use pinch-off tools instead. Likewise, anyone planning to unscrew a screw hose clamp needs a nut driver or socket, not spring-clamp tools. Matching the tool to the hardware keeps the removal clean.
Mistakes to avoid
Damaging the hose or clamp
Twisting or prying the hose ranks as the most common error. The rubber bonds to the fitting over time, and a hard pull tears the inner liner or cracks the barb. JLCMC notes that damaging the fitting during removal is one of the leading causes of rework in hose and clamp assemblies. A gentle rock and a penetrating oil soak free the bond without force.
Squeezing the band instead of the ears is another frequent slip. The jaws must grip the raised tabs, not the curved spring steel. Band pressure distorts the clamp and weakens the spring. JLCMC also advises technicians to use a hose clamps removal tool rather than ordinary pliers or screwdrivers. The wrong tool slips off the ears, scratches the band, and rounds the tab edges. A proper pair of pliers seats squarely and holds the clamp open.
Safety slips
Letting the clamp snap shut on fingers causes real injuries. Spring tension releases fast, and the band edges are sharp. Technicians should keep fingers clear of the band path and release the tool slowly. Safety glasses and gloves belong on before any work starts.
Ourushop.com lists the core precautions. Shut down the equipment, let hot components cool, and relieve pressure per the manufacturer’s procedure before touching a clamp. Drain or contain fluid where needed. For fuel, refrigerant, toxic, pressurized, or flammable systems, avoid heat or cutting until the system is isolated and made safe under the applicable service procedure. Ear-style removal can send cut band segments flying, so eye protection is not optional. A cool engine protects hands from burns and keeps rubber soft enough to work without cracking.
Reuse or replace a constant tension hose clamp?
When reuse is safe
A constant tension hose clamp that is in good shape can go back on the hose. Hosecandy.com lists the signs that make reuse okay: no rust, no cracks, no bending out of shape, and a spring that still snaps back with firm tension. Technicians reuse these hose clamps on low-stress lines like washer fluid or low-pressure fuel return hoses almost forever. The same source says to replace the clamp on any pressurized system — coolant, fuel, oil, or turbo — unless the technician plans to swap it later.
A short check confirms the choice before the hose clamps go back on. Clean the clamp with a wire brush or brake cleaner, squeeze the ears all the way open, and watch for a clean snap back. A soft or sticky spring means throw it away. Check the band for cracks, kinks, or sharp edges, then test the clamp on the hose without the fitting. A clamp that lets the hose slide through easily is too loose. Mark the orientation before removal, because putting a clamp on backward can cause leaks.
Why engines use these clamps
Engineers like the constant tension hose clamp design because it keeps sealing force as things change. Hosecandy.com explains that these constant-tension spring clamps are pre-loaded when they are made. The band opens a little as the hose expands from heat and pressure, then follows the hose back in as it shrinks in the cold. Seapeakhose.com notes the same thing: the hose clamp changes its diameter on its own and makes up for expansion, contraction, and cold flow relaxation.
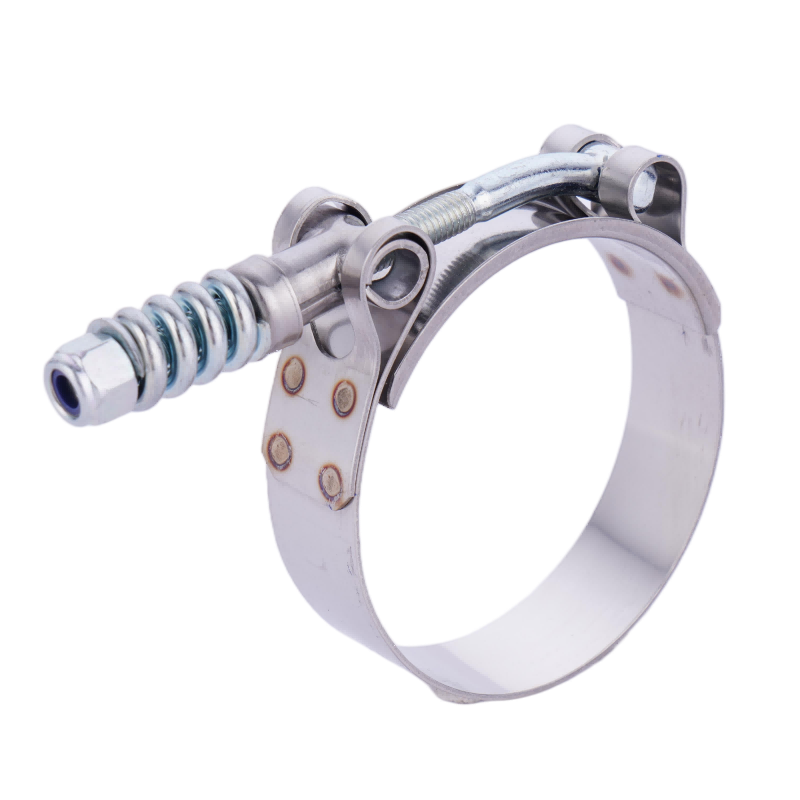
A disc spring stack makes this work on worm-gear driven designs. The Clamp Factory describes a pre-load set column of Belleville disc springs that micro-compresses and extends as the assembly breathes, taking up slack without a person adjusting it. HWKG builds each constant tension hose clamp with a disc spring stack, SAE J1508 compliance, and four material grades. The table below shows where each grade fits best.
| Оценка | Best fit |
|---|---|
| W2 | Standard indoor pipelines and conventional truck cooling |
| W3 | Medium-humidity settings and off-road equipment |
| W4 | Long-cycle automotive exhaust and HVAC lines |
| W5 | Marine, coastal salt spray, and chemical delivery |
HWKG supplies these hose clamps in the ZG14 and ZG16 series from 14mm to 232mm, with band widths of 14.2mm and 15.8mm. The chart from HWKG shows minimum and maximum diameters across the ZG14Q size ranges.
A technician can remove a constant tension hose clamp with one clean motion. Squeeze the ears with hose clamp pliers, slide the clamp back off the hose, and inspect the band before reuse. The right pliers make this job quick and safe.
Four habits keep the work clean. Use the correct tool, soak a stuck spring hose clamp in penetrating oil, avoid twisting the hose, and replace any weakened clamp. A firm spring and a clean band earn another cycle. Good hose clamps reward careful hands, and the right pliers turn a stubborn clamp into a two-second job.
Часто задаваемые вопросы
Can a technician remove a constant tension hose clamp without hose clamp pliers?
Ordinary pliers and screwdrivers tend to slip off the ears and damage the clamp. A proper pair of pliers seats squarely and holds the band open. Technicians who work on many hose clamps each day should keep a flexible or angled tool within reach.
How long should a stuck clamp soak before removal?
Spray penetrating oil on the spring mechanism and the contact points, then wait 10 to 15 minutes. Heavy corrosion may need reapplication and up to an hour of dwell. A gentle side-to-side rock frees many a seized clamp without force.
Do these clamps work on silicone hoses?
Yes. A smooth inner liner protects soft rubber or silicone hoses from shearing, tearing, or deformation. The disc spring stack follows the hose as it expands and contracts, so sealing force stays steady through thermal cycling.
What size range do HWKG constant tension hose clamps cover?
The ZG14 and ZG16 series run from 14mm to 232mm, with band widths of 14.2mm and 15.8mm. Four material grades cover standard pipelines through marine and chemical service. Each clamp meets SAE J1508.
Can a technician reuse a constant tension clamp after removal?
A clamp with firm spring tension, no rust, and no cracks can go back on. A soft or sticky spring means replacement. Pressurized systems deserve a fresh clamp unless the technician plans to swap it soon.